

Through the looking glass
Retire
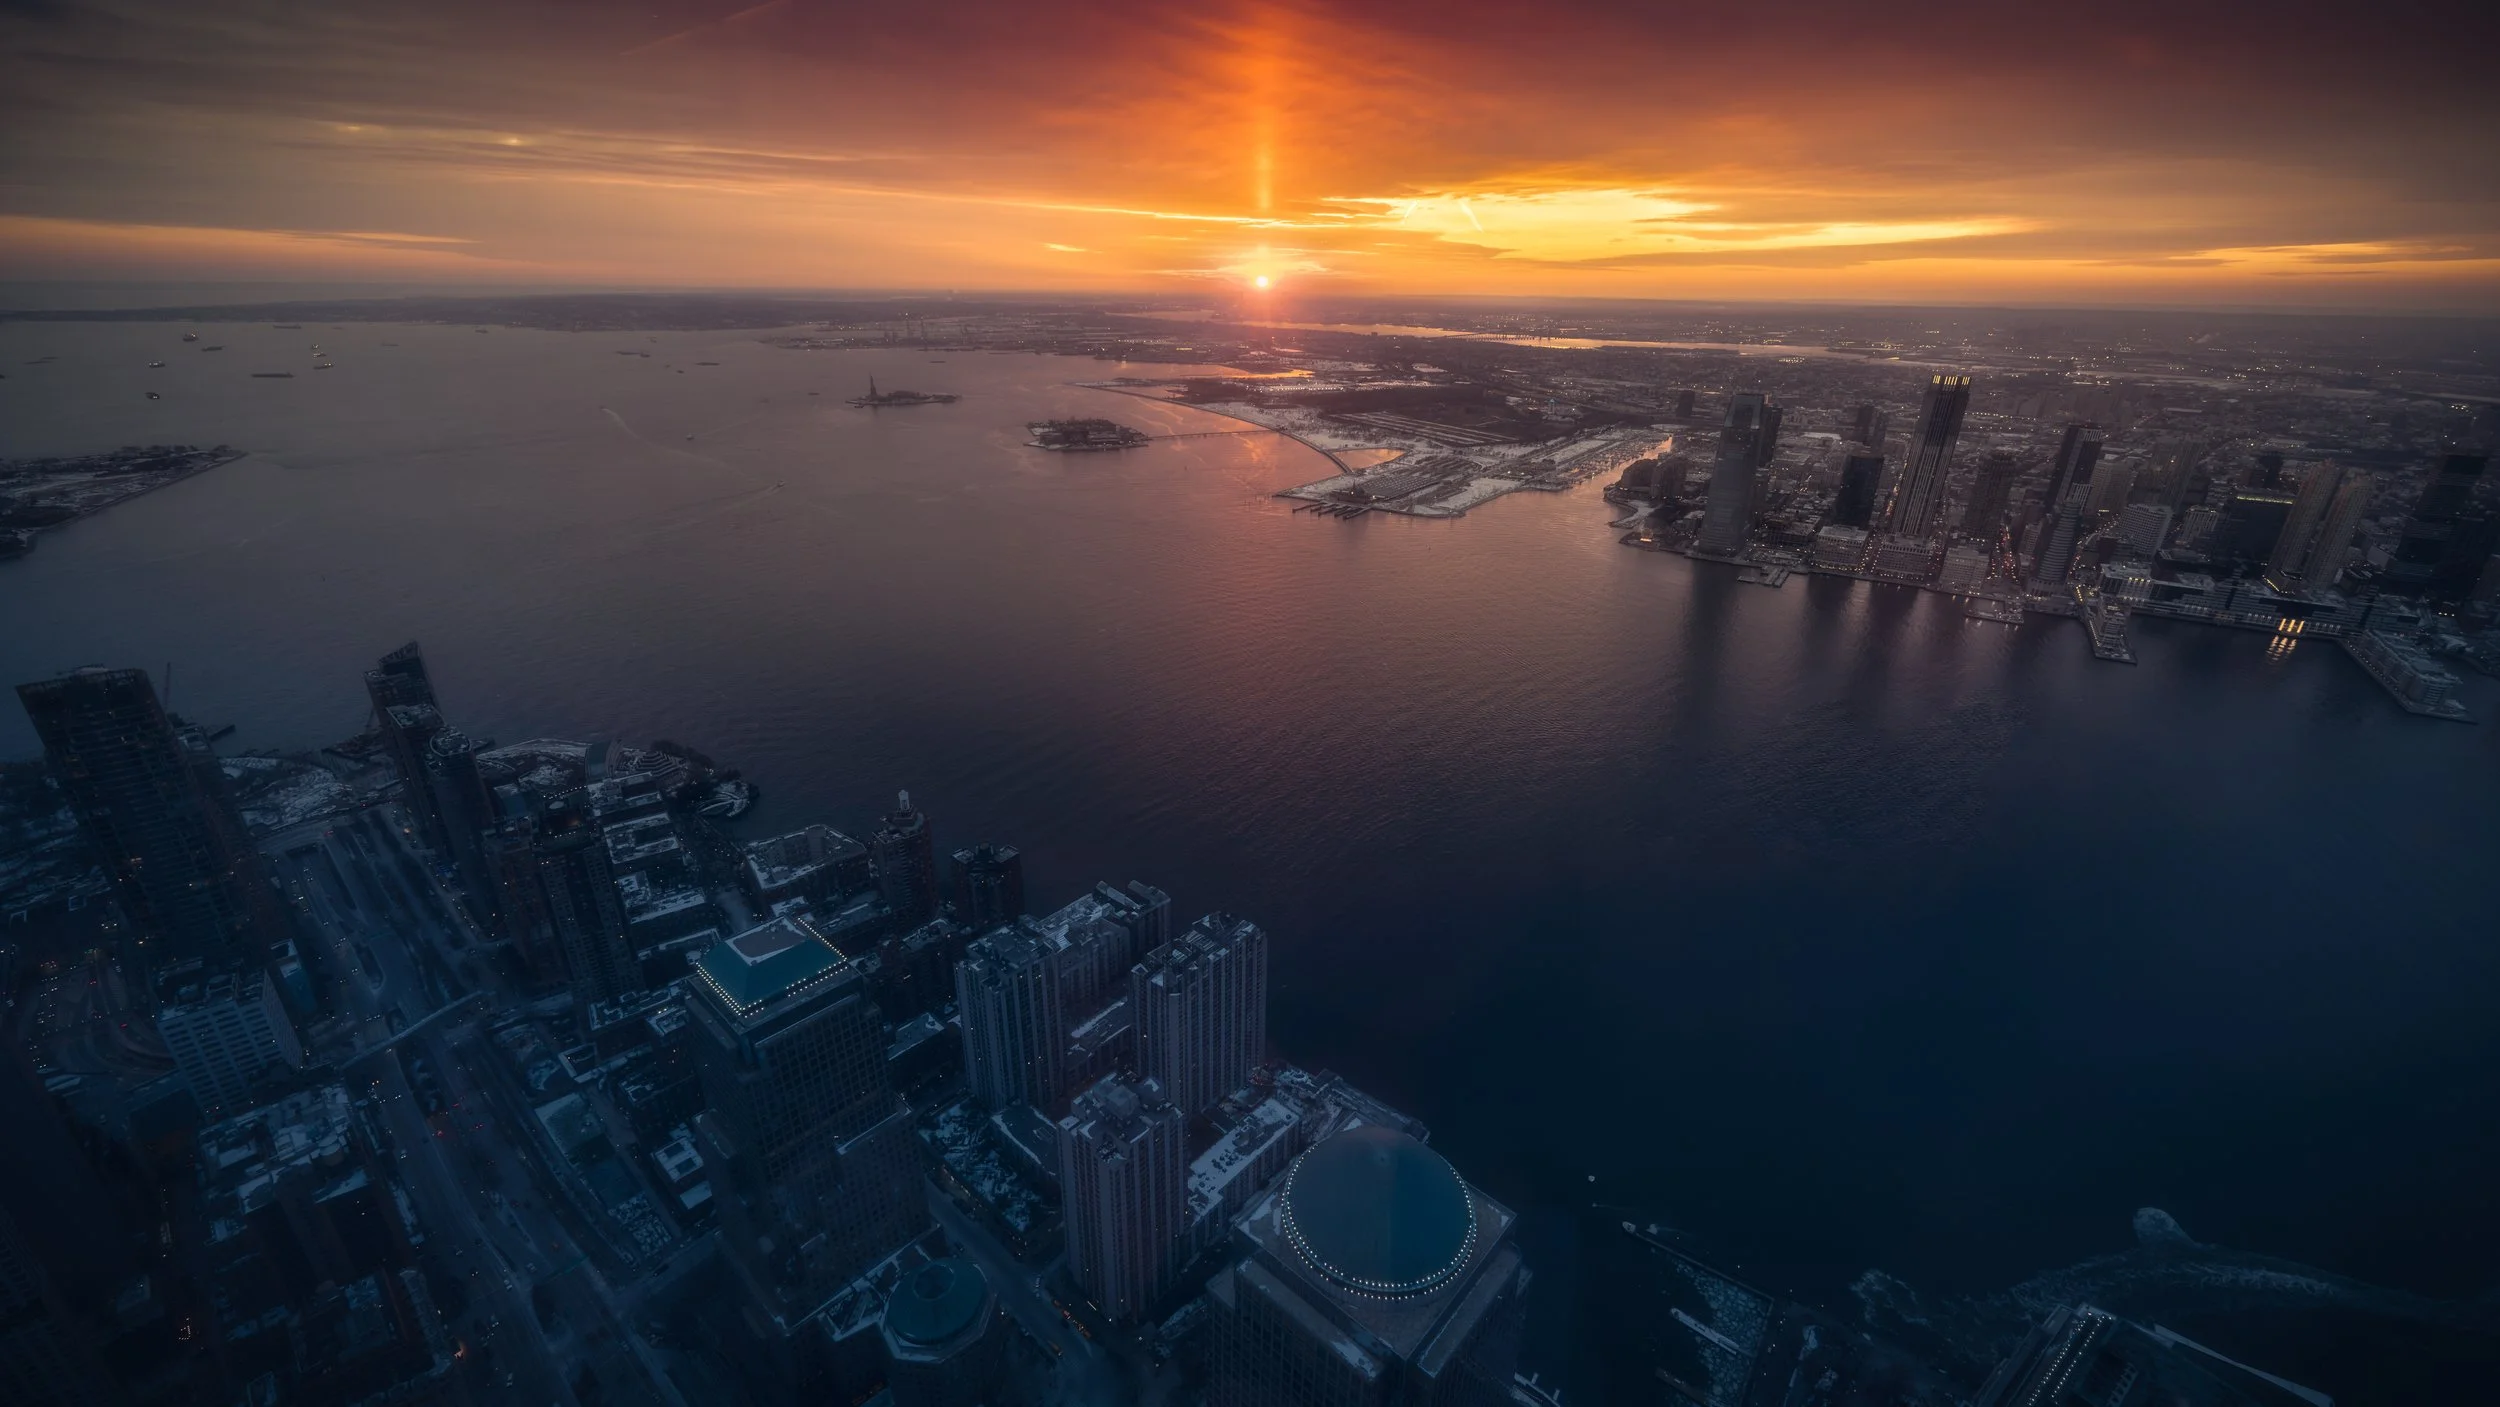
Sony A7IV
14mm prime Sony GM
ISO 320, f7.1, 1/25s
From the observation deck of the One World building off a mono-pod, because they do not allow tripods.
Photographing through glass can feel like trying to whisper secrets through a brick wall—it’s tricky, but not impossible. Whether you're snapping cityscapes from a skyscraper, capturing a lion's yawn from behind a zoo enclosure, or sneaking a shot of that perfect latte art from a cafe window, glass can be both your sneaky accomplice and your worst enemy. Without the right moves, your photos might end up looking like a funhouse mirror experiment. But fear not! I've cracked the code (and not the glass), so let's dive into the fundamentals to make your shots shine—minus the glare. NOW - there are times where reflection is an important part of the composition - but we aren’t talking about that here. We are looking for the clearest possible picture through something that is in between you and the subject.

Don’t miss out on the reflection BEING the SUBJECT!
Get Up Close and Personal
Think of your lens as a clingy friend—the closer it is to the glass, the fewer reflections you'll catch. Ideally, press your lens right against the glass like it’s trying to eavesdrop on the other side. Can’t press it directly? Get as cozy as you can without leaving a smudge.
Incorrect Technique: A skyline photo with ghostly reflections of indoor lights that look like UFOs invading the city.
Correct Technique: The same skyline, crisp and clear, without any extraterrestrial interference.

In this RAW my goal was to actually grab space in between the frosted glass in the foreground (not seen) - so distance from the glass was a must. However, the spots were so minimal that I determined they could be removed in post.
Use a Lens Hood or Make-Shift Shade
A rubber lens hood is like a superhero cape for your camera—it blocks out the villains (a.k.a. reflections) and saves the day. Press it gently against the glass, and voila! No scratches, no glare. No hood? No problem. Your hand, a scarf, or even your buddy’s jacket can work in a pinch.
Mind Your Angle
Angles can be your best friend or your worst frenemy. Shooting straight on reduces reflections and weird distortions. Tilt too much, and you’ll find your masterpiece photobombed by rogue light streaks. Play around with subtle shifts to find that sweet spot.

By applying the two principles above with a lens hood and changing my angle a couple of millimeters - I was able to mitigate the appearance of this ghostly mother and son combo who were taking in the sunset next to me…or were they actually there?
Turn Off Your Flash
It’s probably pretty likely that your flash wouldn’t be on in cases where you are photographing through glass with a regular camera…but man…I see this ALL the time with phone cameras. Using flash when shooting through glass is like trying to light a candle in a wind tunnel—it’s just not going to end well. The flash will bounce back like an overenthusiastic boomerang, leaving you with a photo that’s more glare than subject. Embrace ambient light or tweak your ISO and aperture to brighten things up. Using your phone? Just disable the flash.

I don’t use a flash very often so I had to hunt this example down. Just gross…
Clean the Glass
Obvious? Yes. Overlooked? Also yes. Smudges, fingerprints, and dust are the photo bombers you didn’t invite. Carry a microfiber cloth—your camera will thank you. And if you’re in public, be cool about it. No one wants to see you furiously polishing a shop window like it’s your job.
Not going to give you an example for this one. If you don’t know what smudged glass looks like you are in the WRONG blog ;)
Use a Polarizing Filter
A circular polarizing filter is like sunglasses for your camera—it cuts down glare and lets the true colors shine through. It’s not a magic wand, but it’ll work wonders, especially when dealing with car windows or shiny shop displays. Just twist it until those pesky reflections fade into the background.

No…it’s not glass. BUT it does do a great job of showing you how a filter can…erm…filter. Polarized on the left, non-polarized is on the right. Pretty stark difference. (Clears throat and gets onto soapbox) And for all the photographers out there that think the only time you can shoot photography is during the blue and golden hour…look into this a little.
Final Thoughts
Shooting through glass might seem like a hassle, but with the right tricks up your sleeve, you’ll turn those barriers into opportunities. Check your angles, clean that glass, and don’t forget to experiment. Soon, you’ll be capturing stunning shots that make people wonder, “How’d they do that?”
Happy shooting—and may your reflections always be intentional!